
We’ve seen it time and again with our clients—from no-frills burger joints to Michelin-leaning bistros: the dishes that look most inviting online are usually the ones filling seats and driving orders.
In a scroll-first world, your food photography does the heavy lifting. Whether it’s on Instagram, your website, or a third-party delivery app, your visuals are often your brand’s first impression. And the data backs it up—Instagram’s median engagement rate sits at 0.98%, compared to just 0.08% on Facebook. In short? Great visuals still win attention.
Subjectively, we’ll always take personality over polish. You don’t need a full-blown shoot or a DSLR the size of a bread loaf. What you do need is a story worth sharing, solid lighting, and a content process you can actually stick to.
So whether you’re prepping to launch your first pop-up or just can’t bear another overhead pizza shot in your feed, this guide is packed with practical, human-centric tips to help your food photography work as hard as you do.
1. Start with a story, not a shot
Ever had a restaurant you absolutely loved—but their Instagram photos just didn’t do them justice? You know the ones… dim lighting, bland food, and a plate that looks like it was snapped in a rush.
It’s a missed opportunity, and unfortunately, a common one. A rustic sourdough sandwich shot on a rough-hewn wooden board says “homemade and hearty,” while a fine-dining dessert on matte ceramic with dramatic shadows reads “elevated and refined.”One photo can shift how your whole venue is perceived.
So before you start snapping, take a step back and ask:
- What experience are we selling?
- Are we a laid-back brunch spot, a refined dinner venue, a quirky cocktail bar?
- How do our photos match (or clash) with that?
Consistency in your visual language isn’t just good branding, it’s what helps people recognise (and remember) you. And you don’t need a big budget to make that happen. Even small choices—like using unique serveware, glassware, or even cutlery that aligns with your brand—can add a distinct, ownable feel to your content.
2. Nail the lighting
Lighting is where a lot of food photos go wrong, but it’s also where the biggest improvements can happen. We’ve worked with venues who thought they needed a new camera, but all they really needed was a better light source.
What we’ve seen work best:
- Natural light near a window, ideally with soft curtains or diffusers to cut harsh shadows.
- Artificial light (like LED panels or softboxes) for nighttime or dim venues—just avoid direct flash or warm overhead bulbs that make food look yellow.
- Consistent lighting direction, usually from the side or back, helps highlight textures without flattening your dish.
Want to level up? Shoot variations at different times of day or from different angles. Take a 45-degree shot, a top-down flat lay, and a tight close-up. You’ll be surprised how a single dish can look completely different when you give yourself options.
3. Master basic food styling tricks
Styling doesn’t mean you need to hire a food stylist or give your kitchen a makeover. Most of the time, it’s the little things that make the biggest difference.
Here are a few go-to tips we often share:
- Wipe the plate edges. Always. It’s a small detail that makes your dish look polished, not rushed.
- Add height or structure. Stack your burger, prop up the toast—flat food tends to fall… well, flat.
- Garnish with purpose. Don’t just throw parsley on everything. Choose elements that enhance the flavour and the photo.
- Play with colour contrast. A bold curry on a white plate? Great. A brown stew in a brown bowl on a brown table? Not so much.
And don’t overlook your surfaces and props. A clean wooden table, a piece of marble, or even your venue’s branded tiles can work beautifully as a backdrop.
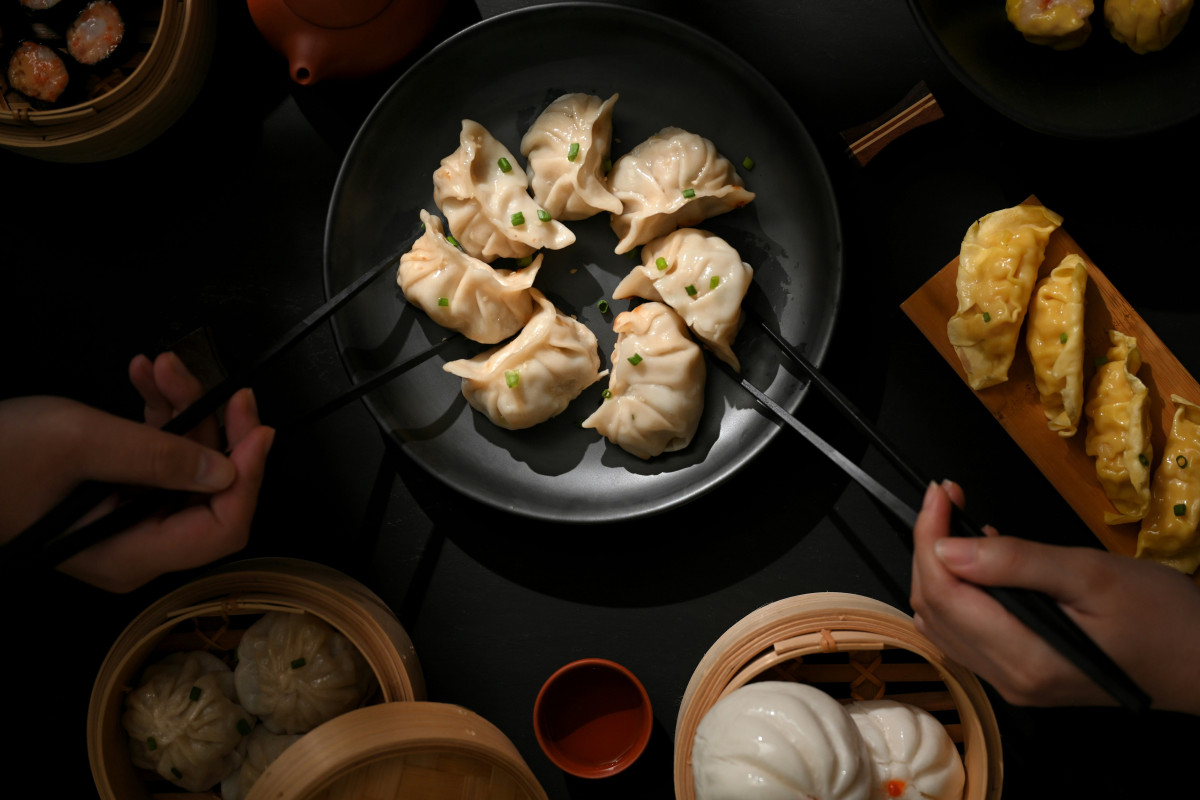
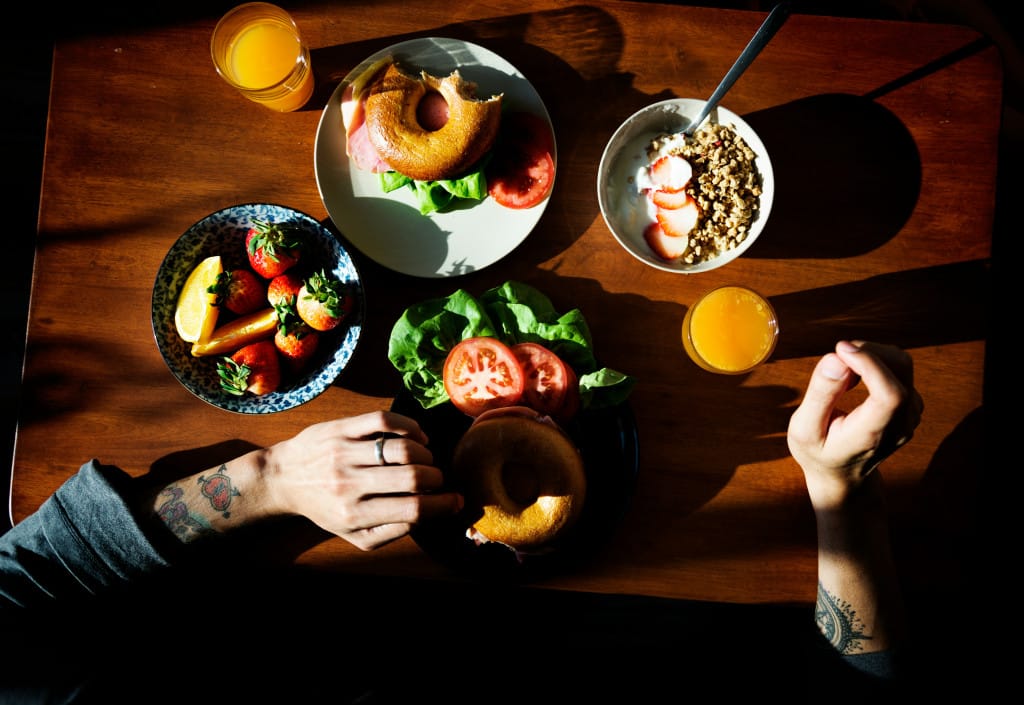
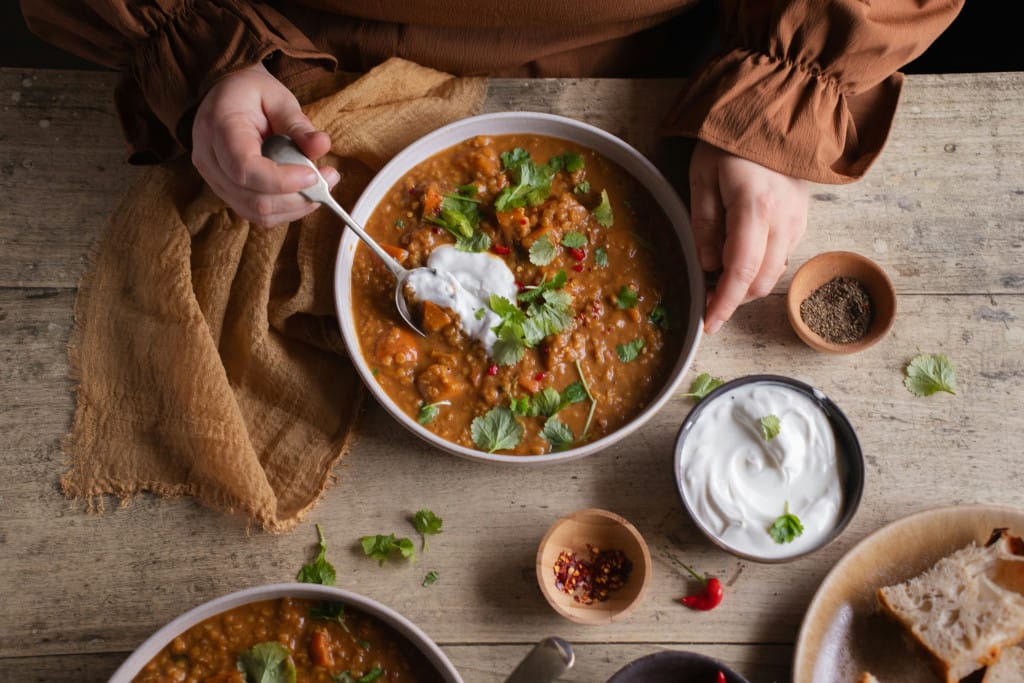
4. Include a human element
Food might be the hero, but a little human touch brings your shots to life. A perfectly styled plate is great, but showing someone slicing into a steak, passing a dish across the table, or just clinking glasses can make your images feel more real.
Why? Because people connect with people. Adding hands, faces, or a bit of movement (think a sprinkle of herbs or steam wafting up) gives your photos emotion and context. It invites the viewer in.
And no, you don’t need to hire professional models. Your chefs, bartenders, servers, even regular guests can be the perfect fit. In fact, using real team members often feels more relatable and natural (plus, it’s a great way to showcase your crew and culture).
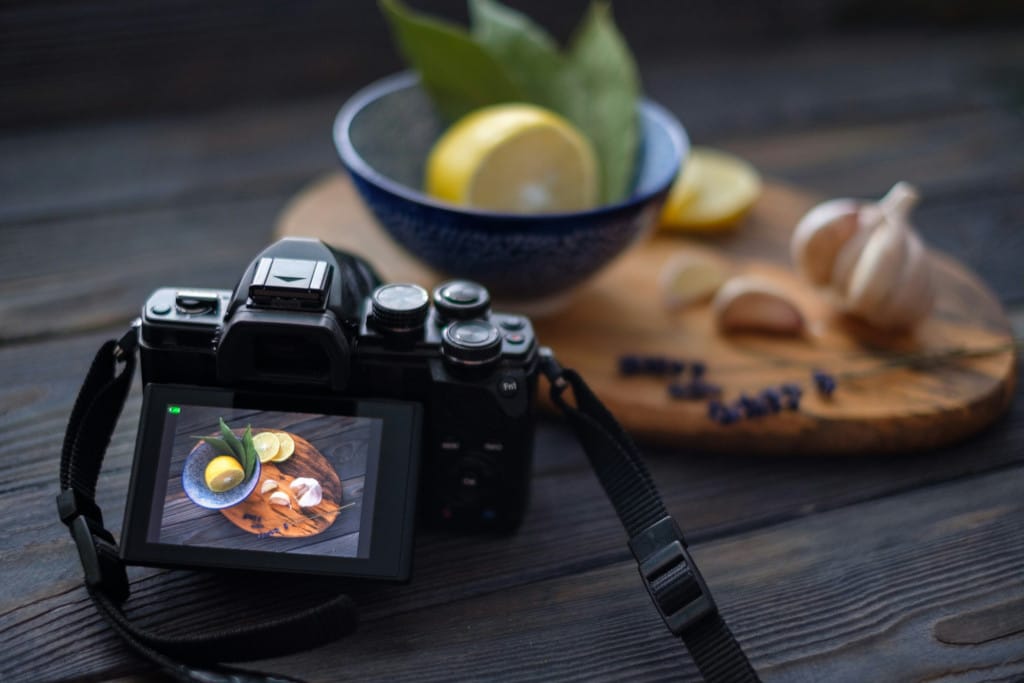
5. Choose the right gear (but don’t overthink it)
We’ve worked with restaurants ranging from family-run diners to upscale hotels, and honestly? Some of the best-performing photos we’ve seen were taken on an iPhone 13 in natural light with a folded napkin as a reflector. True story.
The gap between phone and camera photography has narrowed a lot. If your lighting is good, your food looks fresh, and your hands are steady, you’re already 80% there.
That said, we do recommend a few budget-friendly upgrades:
- A basic tripod (for sharp shots and consistent framing)
- A light diffuser (an old white bedsheet works in a pinch!)
- A small LED light (handy for low-light dishes or evening specials)
Our content team often uses Lightroom Mobile or VSCO for quick edits—we try to keep it natural. Overediting can actually backfire, especially if your dish shows up looking very different IRL.
Subjectively? We think food looks best when it’s shot the way people eat it—not perfectly posed, but mid-bite, half-poured, or just slightly messy. We don’t know what but there’s magic in the imperfection.
6. Think instagram-first
Instagram might not be your biggest revenue channel, but it is where many diners discover new venues. In fact, food photos influence 57% of people when choosing a place to eat. That means your visuals can have just as much impact as your reviews or location.
Here’s what works well:
- Bright, natural lighting
- Flat lays of full spreads
- Action shots (a pour, a slice, a hand reaching in)
- Behind-the-scenes kitchen moments
Don’t overthink the captions—just keep them on-brand and engaging. A mix of storytelling, dish details, and casual behind-the-scenes is a winning combo.
And for visibility, use relevant hashtags (mix broad ones like #Foodie or #RestaurantPhotography with local ones like #SydneyEats or #TorontoFood), tag your location, and experiment with Reels for even more reach.
7. Create a content system you can stick to
We get it, daily content creation isn’t realistic for most restaurant teams. That’s why we always recommend batch-shooting.
Block off 1–2 hours before service or during downtime to shoot multiple dishes at once. We’ve seen cafes shoot their entire month’s worth of content in one afternoon. The trick is to:
- Start with a shot list: Aim for 3-4 angles per dish, a few team or “human” shots, and maybe a behind-the-scenes moment or two.
- Involve your team: Chances are, someone’s already snapping pics during prep or service. Give them the green light and a simple system—Dropbox, Google Drive, whatever works—to save and share photos.
- Build a content bank: Organise your photos by dish, season, or use (menus, socials, delivery platforms), so you always have something ready to go.
It doesn’t need to be perfect, just consistent. The best systems are the ones your team can actually stick to.
8. Know when to call in a pro
We’re big fans of DIY content and most of the time, it’s more than enough. But every now and then, bringing in a pro is totally worth it. If you’re launching a new concept, giving your brand a refresh, or building a website from scratch, that’s usually our cue to say: yep, time to call in backup.
In our experience, it’s probably time to book a shoot if:
- You’ve got a new venue or menu and want polished, versatile visuals
- You’re listing with delivery partners who require clean, high-res images
- Your current photos feel a little… stale or off-brand
So what’s it like working with a food photographer? A good one will help plan your shot list, offer styling tips, and make sure everything runs smoothly. But a little prep goes a long way:
- Pick your hero dishes in advance
- Give the space a once-over (yes, they’ll see those corners)
- Brief your team so they’re ready and not caught off guard mid-shift
Make sure your photographer understands your restaurant branding—your vibe, colour palette, service style, even what you don’t want. Bring reference images and mood boards. And don’t forget to ask about image rights up front—you want to be able to use those photos across your socials, menus, website, and anything else that pops up.
Our honest take? Professional shoots are an investment—but if done well, the content pays off for months (if not years). Just make sure it still feels like you.
Bonus tip: Make sure your guest experience matches the visuals
You’ve nailed the photography, the food looks incredible, and guests are clicking through to book a table—now what?
This is where tech like Sadie, Now Book It’s AI Receptionist can help turn that visual interest into real bookings. Sadie answers guest queries, takes reservations, and even follows up—all without tying up your team during busy service hours.
We’ve seen venues pair strong food photography with a smart booking flow and see real results. After all, if someone sees your stunning pasta shot at 10:30pm, Sadie can take the booking right then and there.
